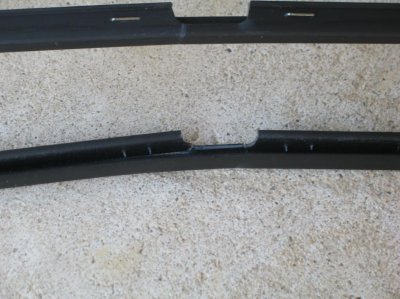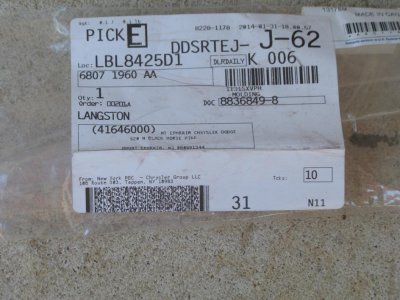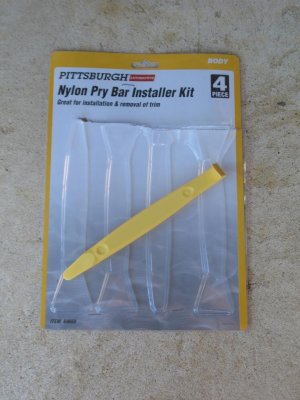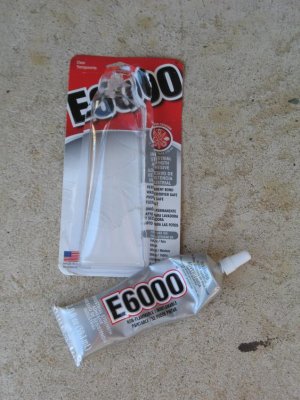

Here’s a quick and, hopefully, a permanent fix for split Upper Door Trim Molding (next to the front windows), for those of you out of warranty.
You will need the following:
3/8” black door edge molding Box Cutter
Small Screwdriver
Tape Measure
Rubbing Alcohol
Paper Towels
Steps:
1. Remove the door panel.
2. Remove the staples on the lower side of the molding.
3. Peel off about 12" of the tape, being careful not to put it against
anything as it will stick fast. Start at the front of the panel at the notch
(making sure the little part of the L of the molding is against the inside of
the panel and the sticky part on top).
4. Press down the molding keeping the little side against it. Work about 6" at
a time, pressing down firmly and pulling out the red tape as you go.
5. When you get to the end of the panel, you will have about an inch left
over, cut it off firmly with the box cutter, being careful not to cut the
door itself.
The end result is molding that is a little taller than the original molding, but much more durable.
Last edited: